Monday, March 19, 2007

Getting The Westy Ready!

With Everybus in North Carolina, and our trip to Myrtle Beach fast approaching, it's high time I get to work on the bus! Last weekend was beautiful (despite my terrible cold) and the nice weather permitted me to start up the bus. It fired up with little trouble. Vanessa, Ashley and I even took it for a spin down to see Stacey and Bryon.


To get ready for the trip I have a pretty long list of things to do. Here's a few major ones:


-new tires


-oil and filter


-install CHT gauge


-adjust valves


-replace fuel lines


-replace heat tubes


-install heat booster fan


-connect pressure water hook-up


-install retractable front seat-belts


-install new pop-top front seal


So far I've done the following:


SEAT BELTS


-sourced new (old) Vanagon seatbelts from the wrecker


-cleaned and deodorized them (thanks Vee)


-make angle iron brackets for mounting


-welded buckle ends to current extensions as shown here:


FUEL LINES:


-removed old 5/16 lines and replaced with 1/4 lines using fuel injection hose clamps


-installed a "T" between the outlet and return lines on the originally-fuel-injection tank, rather than have a blocked hose like current


-installed new pump


-bent new "L" bracket to support hose near filter / pump


CHT GAUGE:


-following Scott Lyon's great tutorial here: http://www.germansupply.com/xcart/customer/home.php?gspage=customer/main/tech/cht/cht_install.tpl I started the installation of my CHT gauge


-In the name of "doing it right" I muscled the top left engine tin off the engine, then proceded to machine a recess in the head for the thermocouple


-my creative trick of the day was the plug I made to block off the spark plug hole so I could machine the head without worrying about the metal filings getting in the cylinder


-basically I cut the end off of a 14mm spark plug chase, then cut a slot in it so it could be screwed in and out with a straight blade screwdriver


-the rest was by the book, except that I used a small spring-steel stationery clamp to hold the wire to a cooling fin:


More updates to come....
Tuesday, March 13, 2007

The Lemon - A Final Chapter and a New Beginning

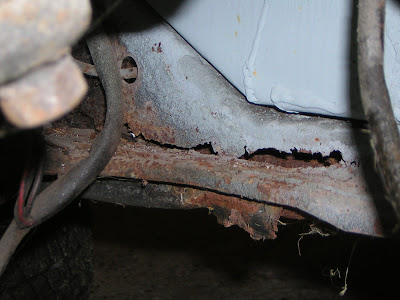
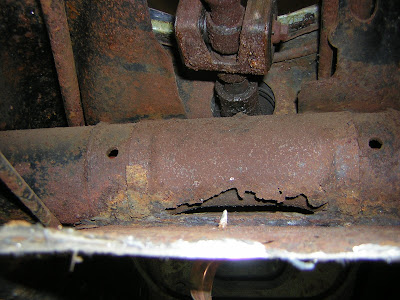
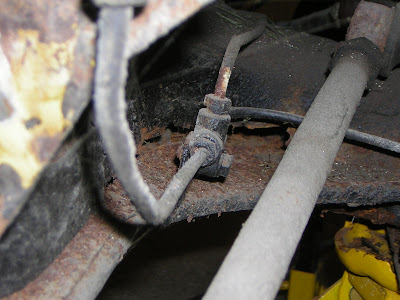
Each turn on this restoration opened the door to more problems. The five images below show what represented the final straw for this car. As you can see, the entire chassis was shot. Fixing really would have required a replacement chassis. Since the body was only marginal at best, it just didn't make sense. Akin to putting down the family dog, I decided to cut my losses with this bug, remember it for the good times, and move on...


Alas, the parts stripping and selling began in earnest. I kept the engine, transmission, wheels and tires. My dad bought a number of items. Some online buyers bought a bunch more, and some is still for sale. The remainder of the heap was loaded up in a Uhaul pickup and sold for scrap - 480 LBS yielded a $36 return.


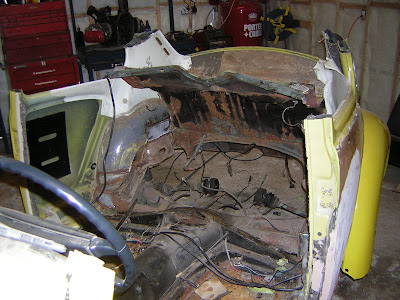
So what's this about a new beginning? Well, inspired by a few magazine features in the past I've decided to turn the rear end of the bug into a utility trailer for use mainly behind the Westfalia. Here's what's left of the bug - note the cross-bracing I welded in to keep the shape. The trailer will retain its original suspension.. On Vanessa's suggestion, the front of the trailer will be closed in with the roof of the bug. More posts to follow on this project...