The bus had been running better than ever, but I was really working the engine hard to get it up hills, revving higher than I would have liked. Possibly as a consequence of this, the engine developed an oil leak at the engine-to-transmission seam, meaning the flywheel seal (aka rear main seal, even though it's on the FRONT of the engine) was the likely culprit. I ordered a new flywheel reseal kit from German Supply, as well as a crank seal and o-ring for the fan end of the engine.
This was the first time I've had a bus engine out. It wasn't too bad, but there were some big surprises along the way, so please read on:
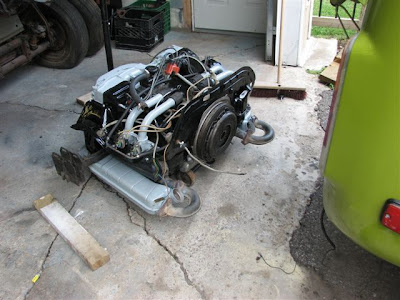
 Despite being my first bus-engine pull, it did come out fairly easily. The first surprise was the foam engine seal was shot. There goes another $50. These pics were taken after a lengthy pressure-washing of the engine and engine bay..
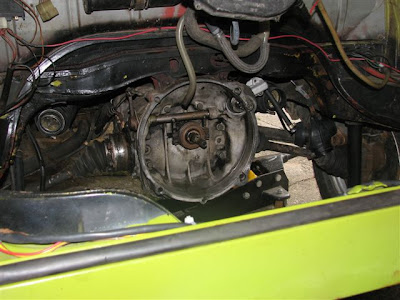
 The tin was mostly solid, but wet with oil, rusty, and covered in overspray.
 Here was the biggest surprise... My "2L" engine is a 1700!!! It is possible this CB case was bored out, but it has 1800 heads at best and unknown bore & stroke...
 The fuel pump boss should have been a dead giveaway. Somehow I always ignored it.
 This is a freshly rebuilt 2L with zero miles on it. I picked it up last year after I found metal chunks in the engine... After discovering my 1700, I decided to install this one.
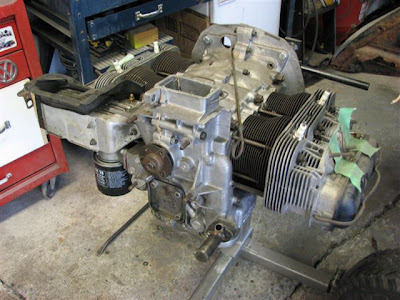 So, the swap begins. I hauled the engine over where I could work on it.
 I pulled my exhaust from the 1700.
 I decided to use the shroud from the replacement engine too, since it had matching serial numbers. The CB engine also had a GD shroud... I pressure washed everything as an initial cleaning.
 Vanessa spent an hour or so with a wire brush on the tin.
 While I welded up some of the holes and rot.
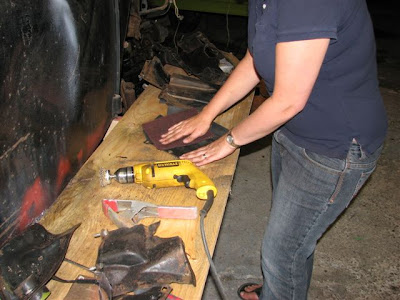 Vee also prepped the tin for paint.
 Though I was never a fan of painted fanshrouds, my attempts at polishing failed and I became a big fan of painting it... Two $3.99 rattle cans handled the shroud and the intake runners handily.
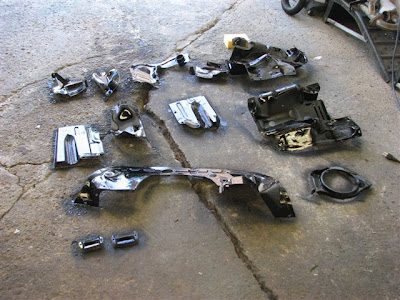 The rest of the tin took two more cans of gloss black. I know flat black is more "correct" but I couldn't resist.

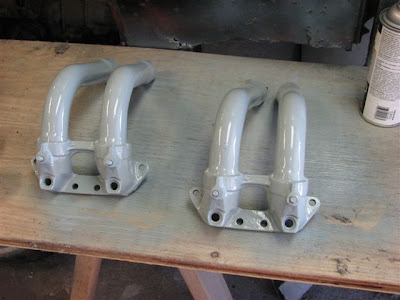 This cheap paint looks really good!

 Everything got two coats.
 I put all the 1700 pieces back together and rolled it to the side of the shop for storage. For now I'll keep it as a spare.
 Here the assembly process has begun.
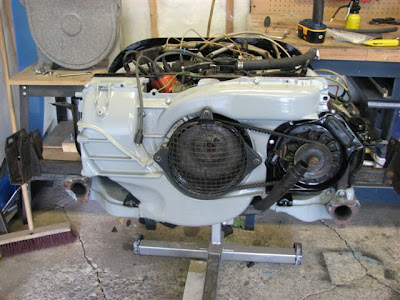 This morning I started adding the FI components.
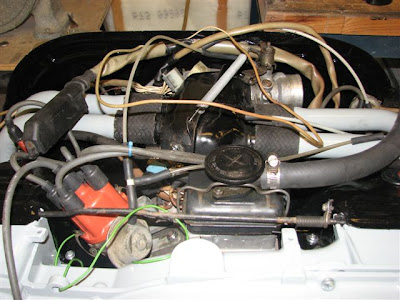


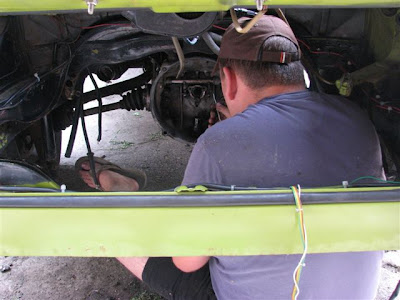
 While the engine was out it made sense to change the input shaft seal on the tranny.

 I used my hoist to lift the engine off the stand.
 I dragged it over to the bus, then swapped it onto my jack.
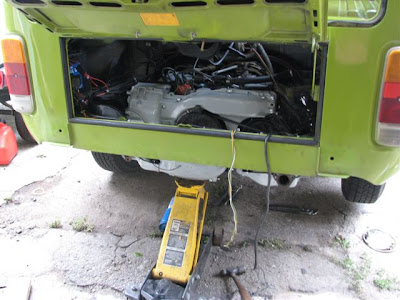 It went in pretty easily, considering I left my tranny in place..
 Once the cross bar was connected, along with the two bottom studs, I was ready to put the top bolts in.
 I held the bolts from underneath while Vanessa threaded the nuts on.

Once I bolted up the exhaust I cranked the engine for oil pressure, then connected the coil and tried it. Crank, crank, BOOOOOOOOOM!!!! The timing was way off... I adjusted things, tried again, and it started right up!! I set the timing to 7.5 BTDC, slightly adjusted the idle, and went for a couple scoots around the block. It is a whole new bus!!!!

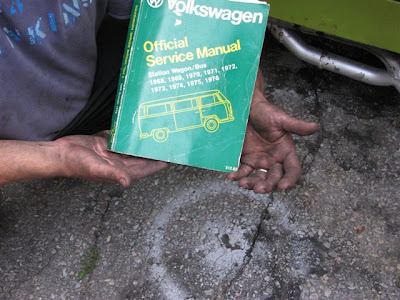 Here I am, happy, filthy, and hungry.

