With Bob's Bug back to Bob and the camping season finished, activity of late in the garage has been concentrated on the Speedster kit. Our goal is to officially unveil it at the Michigan show in early 2008. With the season officially changing and the temperature going down, it's imperative we get all the painting out of the way. This meant quite a bit of metal work and dissasembly, but I'll let you read the captions below for the details:

This is the chassis as we received it. It was a professionally shortened unit from I.C.M. Industries in California but it was a little rough around the edges.

This is the intial degreasing of the transmission, an early to mid 1960's model. After scraping the vast majority of garbage from it I moved it outside, used a chemical degreaser, and pressure washed it.

This shows the tunnel cut and the registration plate from the '72 Super Beetle fitted.

The previous owner cut an access panel here for installation of the fuel line and ease of clutch cable connection. I squared up the hole and later made a cover plate for easy access later.

Here Vanessa and Ashley start polishing the transmission with a wire brush.

Too bad Ashley doesn't have safety glasses too - she insists on being right in the thick of things!

I drilled four holes, inserted metric cap nuts, and welded them in place so the cover (on the floorpan reading 14ga) could be screwed in place.

This is the registration plate area after grinding of the weld.
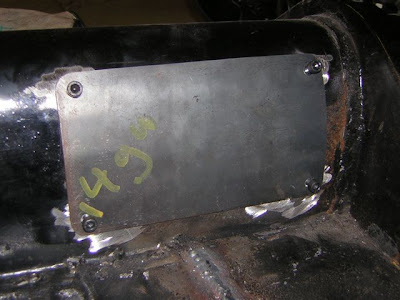
Here's the cover plate in place.

ICM Industries has a unique cut pattern for the floors. They overlap in a number of places including the front of the pan. I wasn't happy with their welds or cuts so I spent some time re-welding and, as you can see in this picture, marking and cutting the overlap to make it symmetrical.


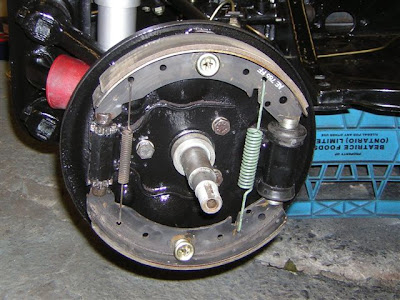
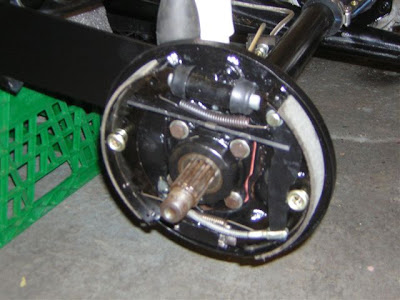
Here's one of the rear brake backing plates after a heavy wire-brushing.
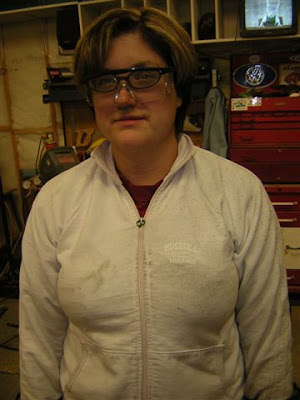
A very dirty girl.

Whilst at the June Jitter Bug, we sourced a $5 gas tank that was a late model beetle tank that had been modified for use in a dune buggy. I had to do some cutting and welding to make it fit, which is par for the course for the speedster kit anyway. Here I am flaring a piece of 3/16" pipe for installation as a vent line in the tank.

This shows the filler in its new location with the new vent pipe installed.
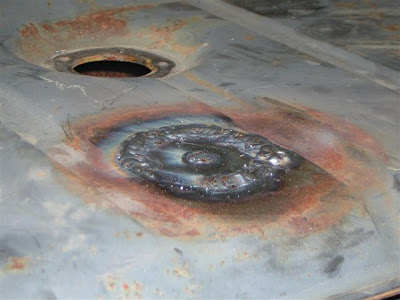
Here's a patch over the old filler location.
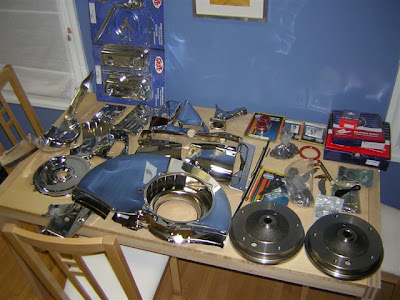
A large shipment of parts arrived!

Another shot of the pan. There was quite a bit of welding patches and hammer and dolly work to get to this point. The bare metal areas are where the seat tracks normally are. The previous owner (or ICM) really hacked them off, leaving a real mess of the metal.

Here are all the bare metal parts. Vanessa degreased them all with soap and water. I then prepared them using POR15 Metal Ready spray. After about 45 minutes they were then rinsed again with water.

As you can see the metal prep changes the colour of the metal in some places.

Here the pan is ready for the first coat of POR15. This is going just on the bare metal areas.

Everything masked and ready for the first POR15 coat. The process will be POR15 to cover all bare metal (basically over 2 day since the first coat will have to dry before I can flip the parts and paint the other side), then POR15 brand Black-Cote gloss top coat will fully cover everything, including the pan and beam. This will be another 2 day process.

Here you can see the pan with the bare metal covered. Also you can see the bottom of the gas tank.

The beam with its first POR15 coat.
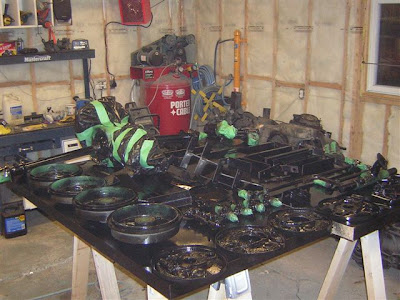
Everything else with its first coat of POR15.
Tomorrow I will flip the parts and use up the rest of the POR15. Once dry, everything needs to be abraded with 400 grit paper and the top-coating process can begin. My objective is to have everything painted this week and the full rolling chassis assembled by the end of November...
 The donor engine - the trusty 1600DP from our beloved and now scrapped '72 Super Beetle. This is the very same engine that took us all over the East Coast of Canada and the northern States.
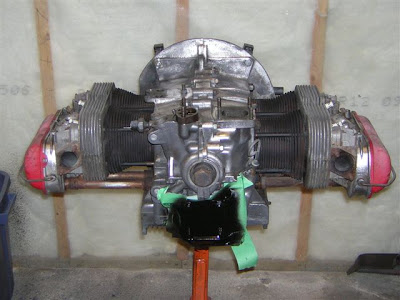 Here it is (naked) with its cooling tin removed, after pressure washing, degreasing, and wire-wheel polishing.
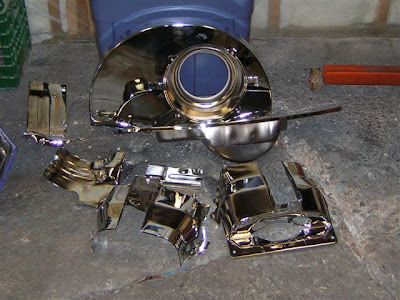 Here's some of the chrome engine tin.
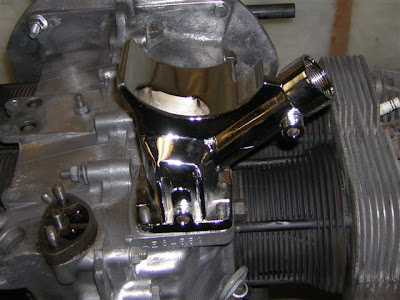 The start of the build-up. The rest of the components went in with little trouble.
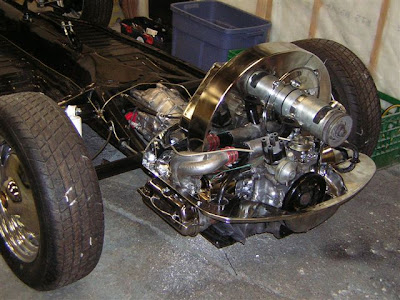 Here is the first shot of it installed in the chassis. My clearancing of the transmission was not sufficient. I had to go "old school" and turn the engine over (first by the crank pulley and then with the starter) as I tightened it to the tranny. This let the flywheel cut away at the soft magnesium. I later removed the engine and cleaned up the mess.
 Here's another shot from behind.
 This shot shows the bowden tube and clutch cable (note the EMPI cable shortener). A new main seal, clutch, and pressure plate were installed on the freshly-machined flywheel.
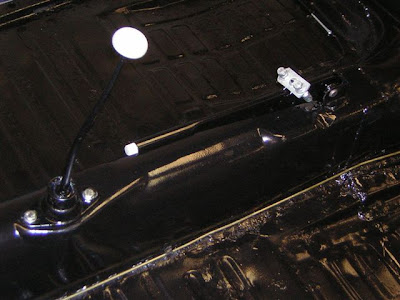 Here's a shot of the shifter and parking brake installed. These will need to be adjusted before they will work perfectly.


