Tuesday, September 23, 2008

Adrian's Bus - Post 5

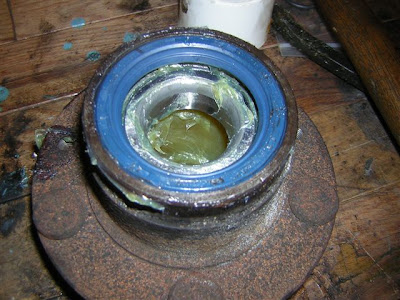
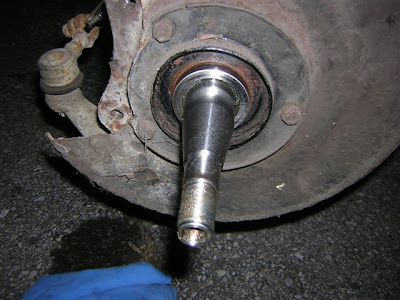
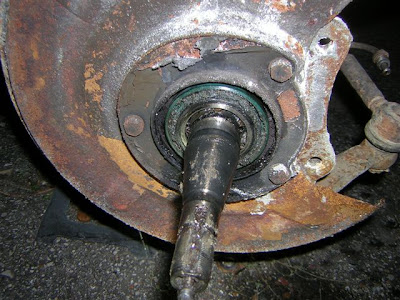
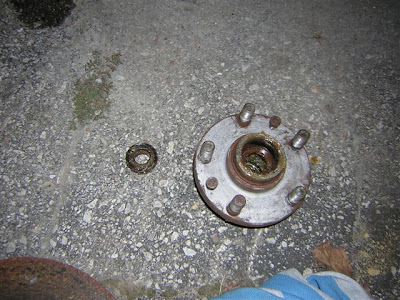
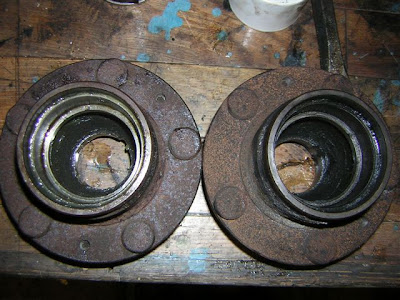
Last night I had a chance to rebuild the hubs with new races, bearings, grease, etc... They are all installed on the bus now, waiting for new rotors and calipers. The pictures below really need no captions. Scroll to the bottom for today's update though.


Today was the start of problems... I cracked the connections at the rear brake cylinder and master cylinder and was met with crumbling brake lines... Adrian will have to pony up for new steel lines all the way around. I also took the master cylinder out and started swapping the reservoir / switches to the new one. I had a small issue with the stud on the brake booster, but I think I can get around this with some creativity. Finally, I found out the heat piping is totally shot underneath and will need replacement... Fun fun.

Friday, September 19, 2008

Adrian's Bus - Post 4

The work continues... See the captions below:
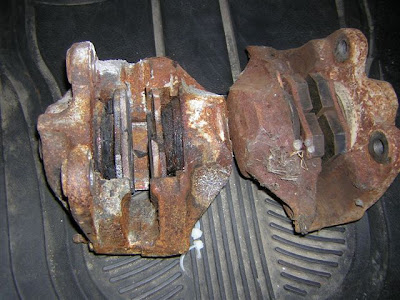
Passenger side caliper on the right in good shape. Drivers side on the left, pads melted off and in very rough shape. Dropped these off at German Supply today. Rebuilt units will be ready next week.
A normal looking old rotor, from the passenger side.
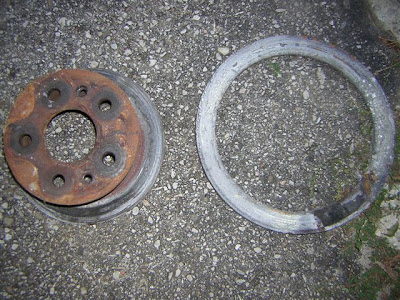
The drivers side looks worn, but what's that line in the middle of the friction surface?
The outer ring was jammed in the caliper. The inner was free to rotate. This is absolutely unbelieveable.
The fire melted the ball joint boot slightly here. These are due for replacement at some point - perhaps the certifying mechanic can look into this.
Looks like the rear brake hard line will need to be replaced too. It was damp and easily broke.
This will soon be replaced (shoes and cylinder).
The healthy looking passenger side front hub.


The unhealthy looking drivers side. It did not turn smoothly, and the grease on the outside was blackened and dry.
The seal was melted away.
Once I started cleaning, the passenger hub was normal - the grease from it is on the right here. The burnt grease from the drivers hub is on the left. I wish the camera could capture the smell of this grease! I scrubbed and scrubbed my hands and I can still smell them just typing this!
Here are the cleaned hubs, with races removed. Next up? Buy some grease and get these babies installed again.


Monday, September 15, 2008

Adrian's Bus - Post 3

As I am currently waiting for parts, there has been little rush to complete some of the first tasks. I've been able to take my time on them. I've almost completed the first block of work. Hopefully tomorrow I'll get a few minutes to change out the plugs and wires and install the engine seal, then all that will be left is the oil change and final tuning of the carb prior to the next block of work. There are some captions below each picture... I annealed the copper rings per www.ratwell.com by heating them cherry-red with a propane torch and allowing them to cool. This softens the copper and allows a proper seal between the heater box and head.
The electric fan and heat risers from heater boxes to the fan were missing. After an email discussion with Adrian we decided to eliminate this, as all it does is provide heat at idle, and not much!! I welded sheet metal caps in place on the heater boxes to ensure a long-lasting seal. However, if circumstances change, a quick grinding can return them to like-new condition.
Here's the other side.
As you can see I have the heater boxes and muffler installed now. It sounds great!!
There is still one stud missing on this heater box. I need to source a 9mm x 8mm step stud from German Supply when I pick up the next parts.


I also replaced all the fuel lines and installed a filter in the system.
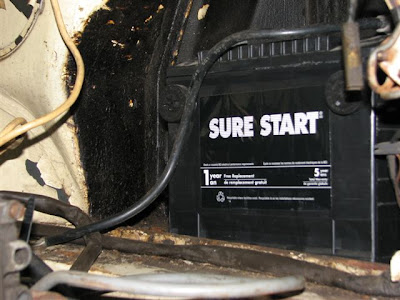
I sourced and installed a Canadian Tire battery so Adrian can use the warranty (if needed) anywhere across Canada.
Here's a shot of the fancy new coil and distributor cap.

Hopefully I'll get more parts this week and get back at it on the weekend... I should have most of the weekend to work so I can get the braking system up to snuff.

Thursday, September 4, 2008

Adrian's Bus - It's Alive! Post 2

I had an opportunity to work on Adrian's bus tonight for a little while. I drained the remaining disgusting varnish-like gas from the tank and cleaned the outlet. I removed the remainder of the fuel lines, with the intent to replace everything this weekend.

I got the urge to get it running about then.. I put a temporary gas can in the engine bay and put in one of my batteries. After fixing some electrical glitches I got it to turn over, but there was very little in the spark department. I played with the points a little and checked the coil, but got limited results. Then I remembered I'm tuning it up anyway, so I replaced the points, cap, rotor, coil, and condensor. The wires and plugs can wait 'till later.

Once that was replaced, with a little persuasion she fired right up!! Check out the video:

I won't get back at it until Sunday, but I have big plans: new battery, new fuel lines & filter(s), new plugs, new wires, and remove and replace exhaust...

I noticed the vacuum advance is not connected, nor is there any easy ported vacuum source. I will need to rectify this to eliminate most of the dreaded flat spot. I also noticed there are a lot of wiring gremlins. I will have to tackle this with an open mind and some good daylight.

Once I've worked most things out I'll try a covert test run and see what adjustments or rebuilding will need to be done to the carb.

For now, I'm happy and excited, and you should be too!